한국 아이폰
홈페이지
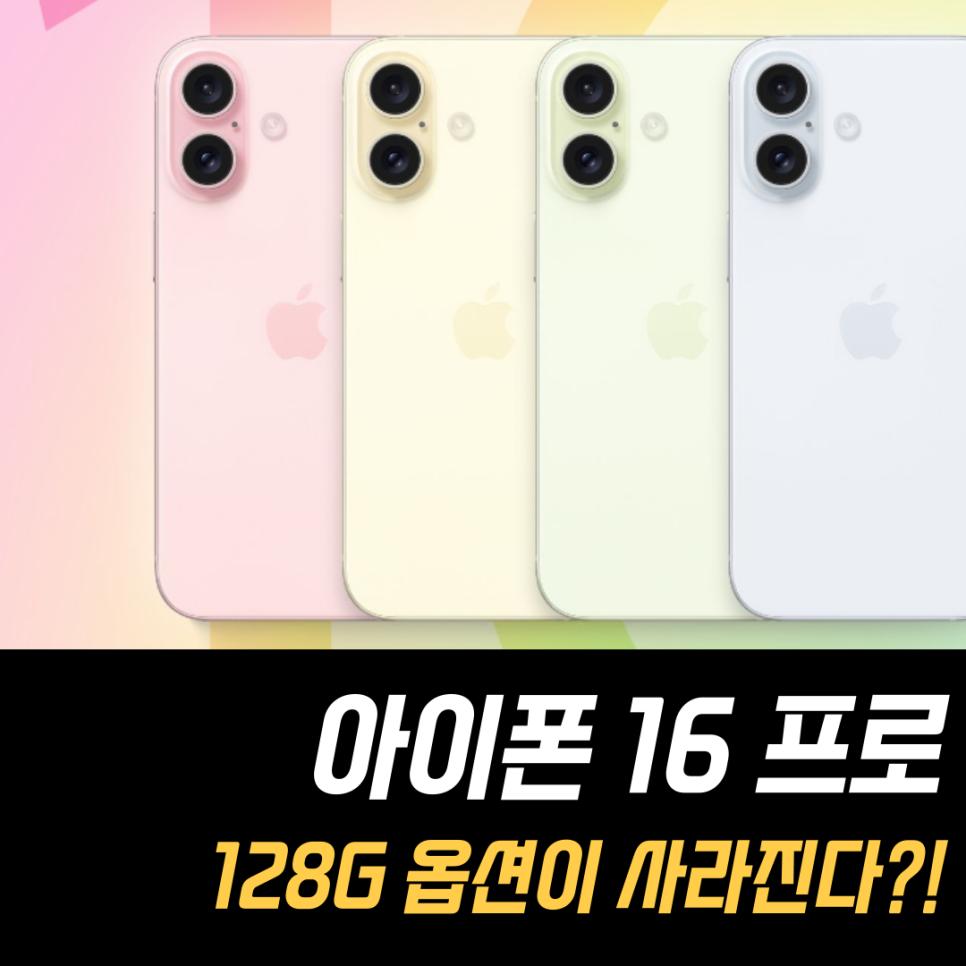
아이폰 16 프로, 128G 옵션이 사라진다?!
[Weeding 6. 4.14일 오전 웨딩촬영 ONA A타입 김건호 작가지정 + 아이폰 스냅 추가 후기!
교통위반 도로위반 보고서 스미스피싱 문자 주의(아이폰 보완 최고!)
아이폰 배터리 최적화 세팅!
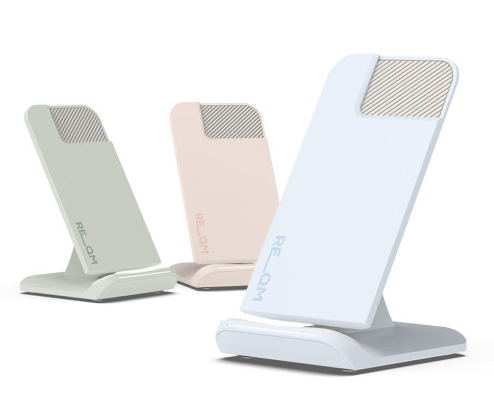
아이폰무선충전기 고속무선충전기 카메라보호 되는 갤럭시무선충전기 추천!
버즈프로2 본체 재구매후기(버즈 아이폰 연결 방법 등)
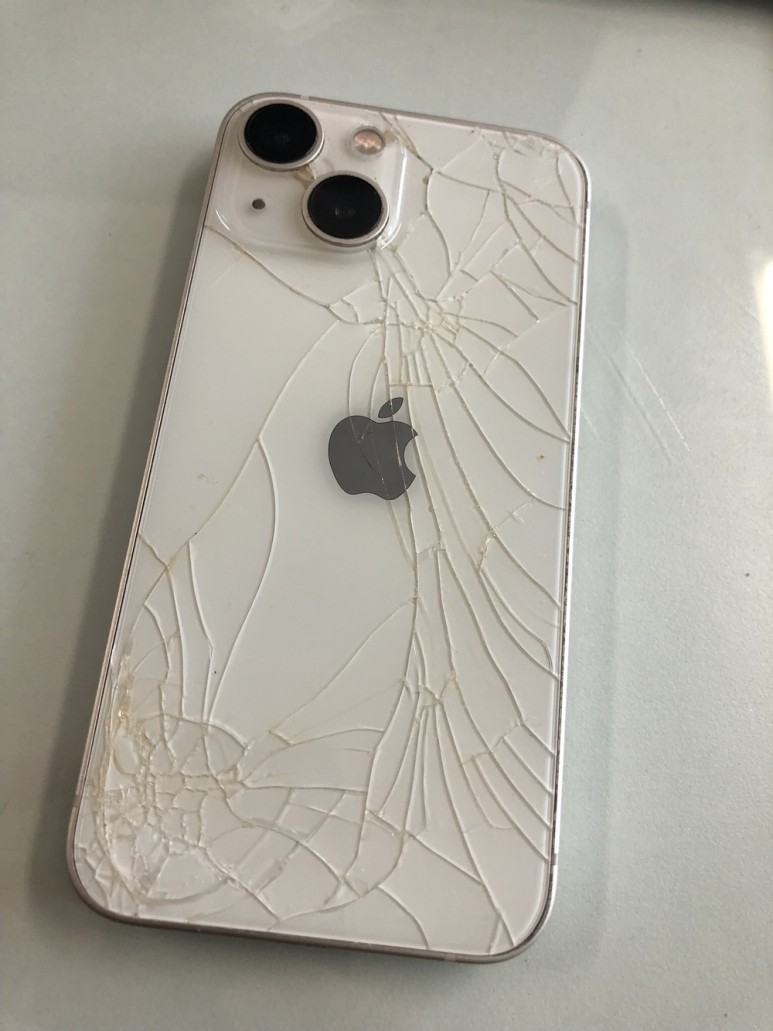
아이폰13미니 화이트 액정 전후면파손 중고 매입
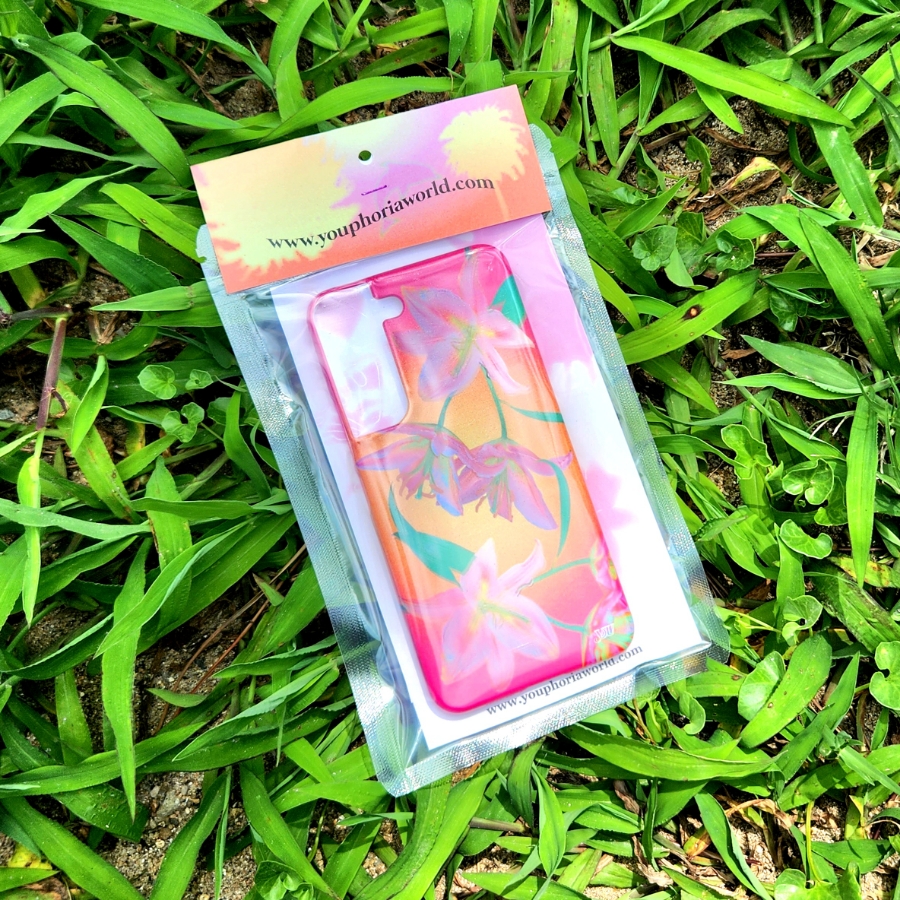
백예린 손민수 백합폰케이스 빈티지 플라워 폰케이스 사이트 추천(갤럭시/아이폰)
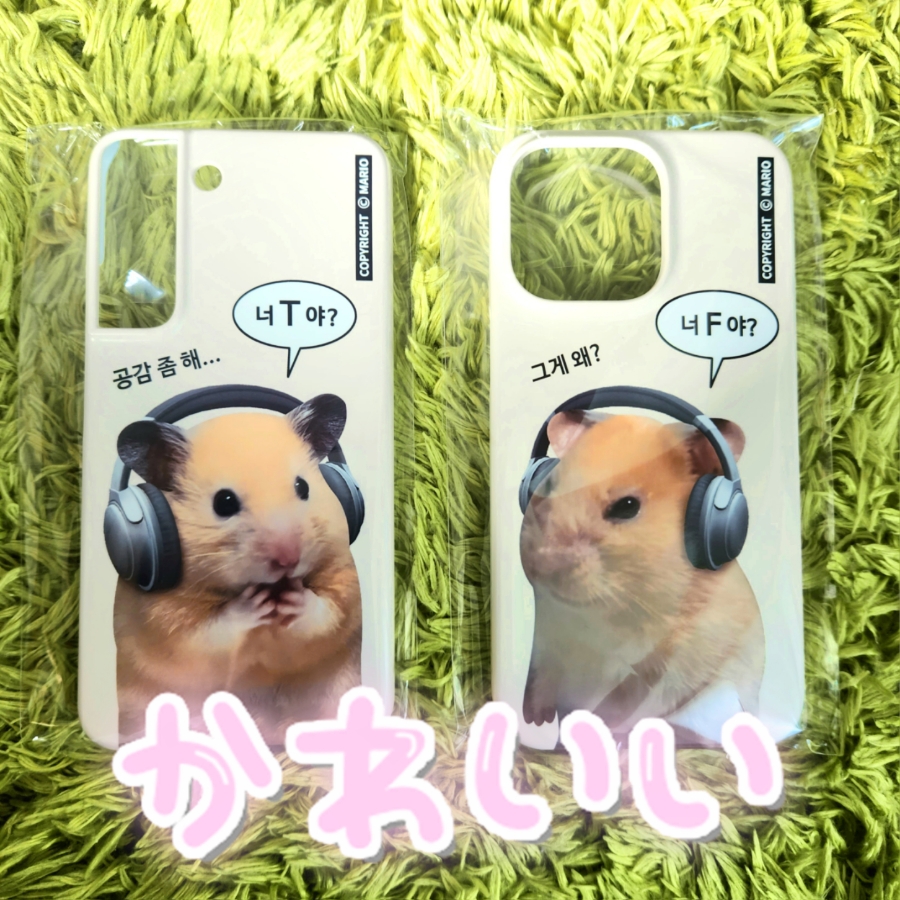
너 t야? mbti 햄스터 케이스 커플템 추천 (갤럭시/아이폰)
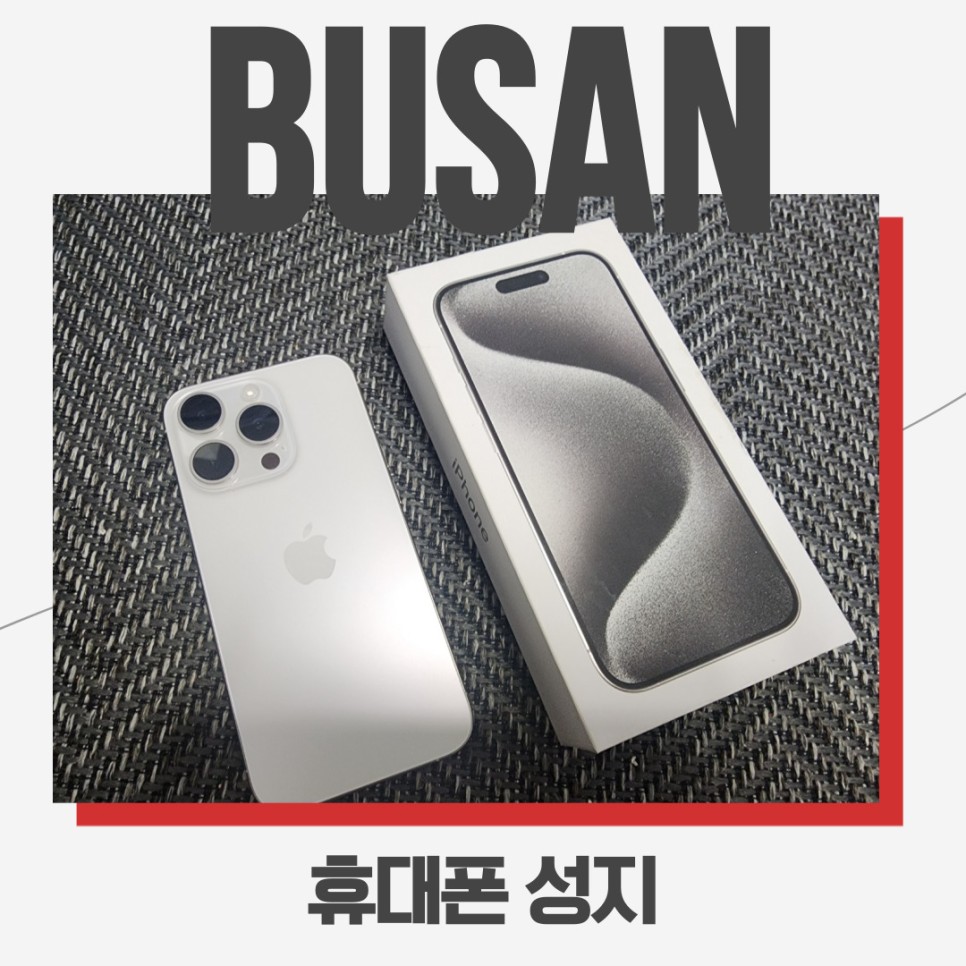
부산 휴대폰 성지 하얀폰에서 아이폰15 가격 찾아보기
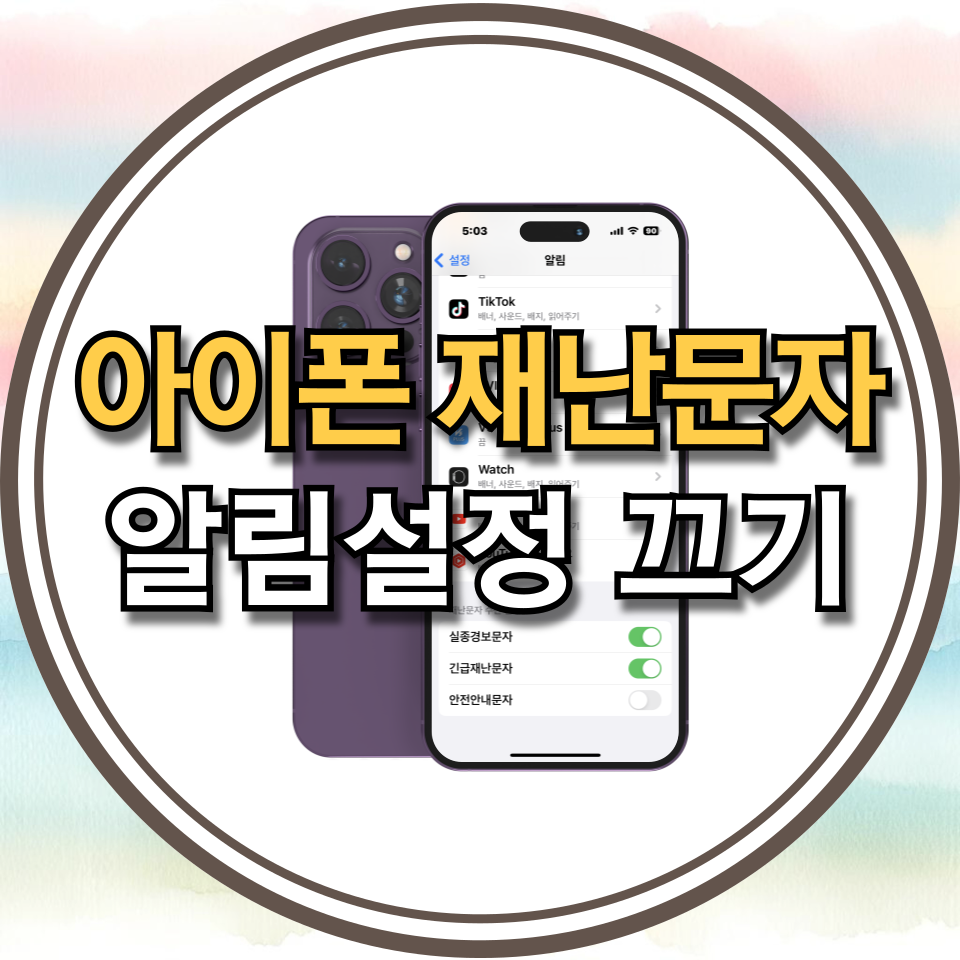
아이폰 재난문자 끄기 켜기 설정 방법
부산휴대폰성지 하얀폰 아이폰15 상담 후기
아이폰 통화녹음 어플 에이닷 아이폰녹음기능 장단점 핸드폰녹음기능 파헤치자
[아이폰14] 스마트한 선택, 이 상품
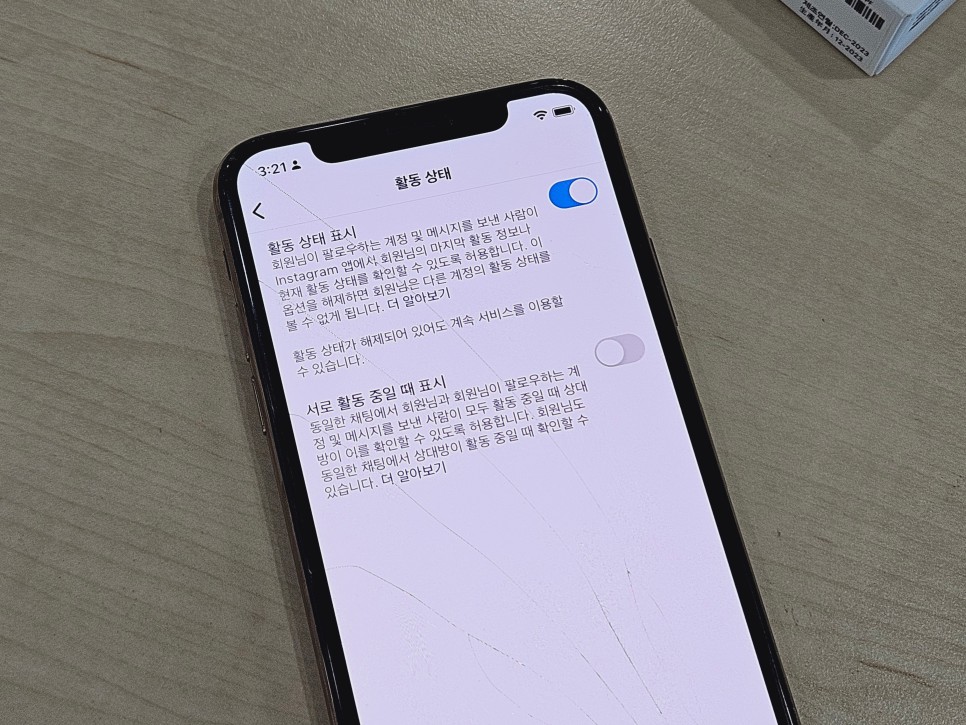
아이폰 인스타 활동중 끄기 현활 끄는법 정리
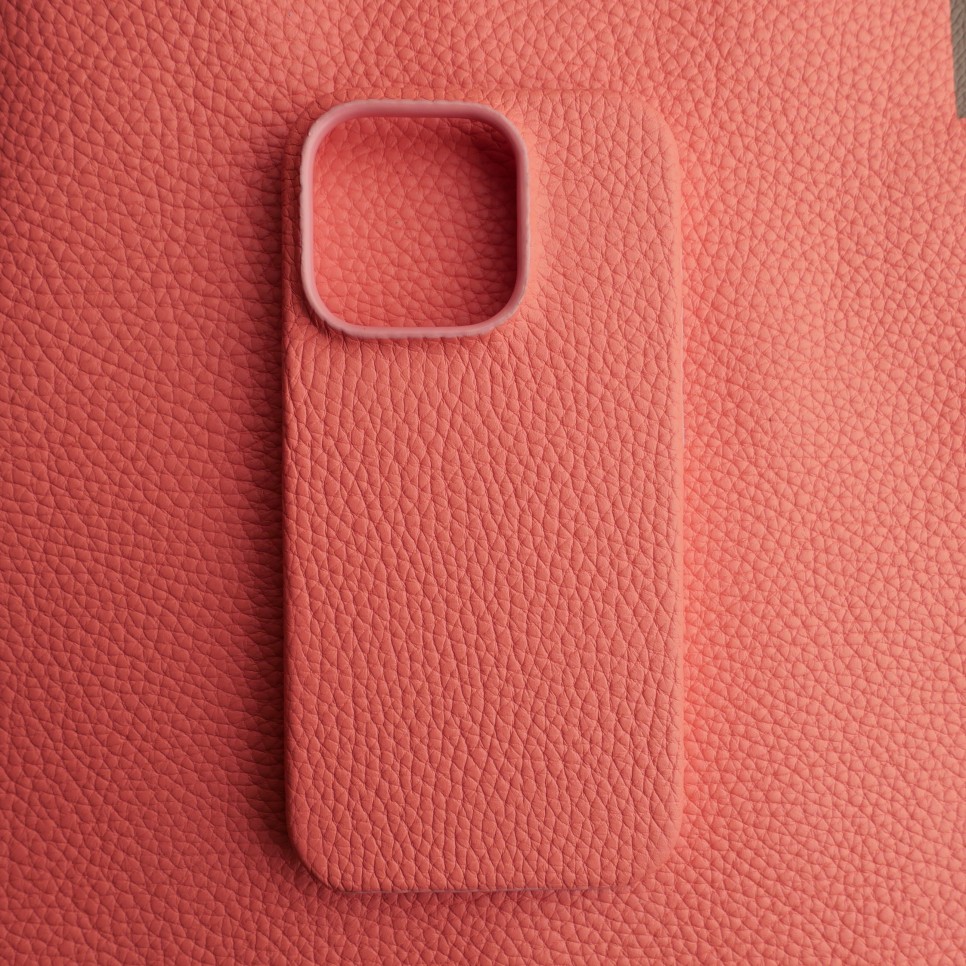
[아이폰15프로 케이스]아이폰 15프로 가죽케이스
천안중고폰 매입판매 후기 액정 깨진 아이폰, 예쁜중고폰에서 해결!
일본 이심 로밍도꺠비 esim 아이폰 등록방법
텔레그램 포렌식 복구(아이폰갤럭시복원)
아이메세지 아이폰 문자 읽음 표시 끄기 및 문자 전송 취소 방법 초간단
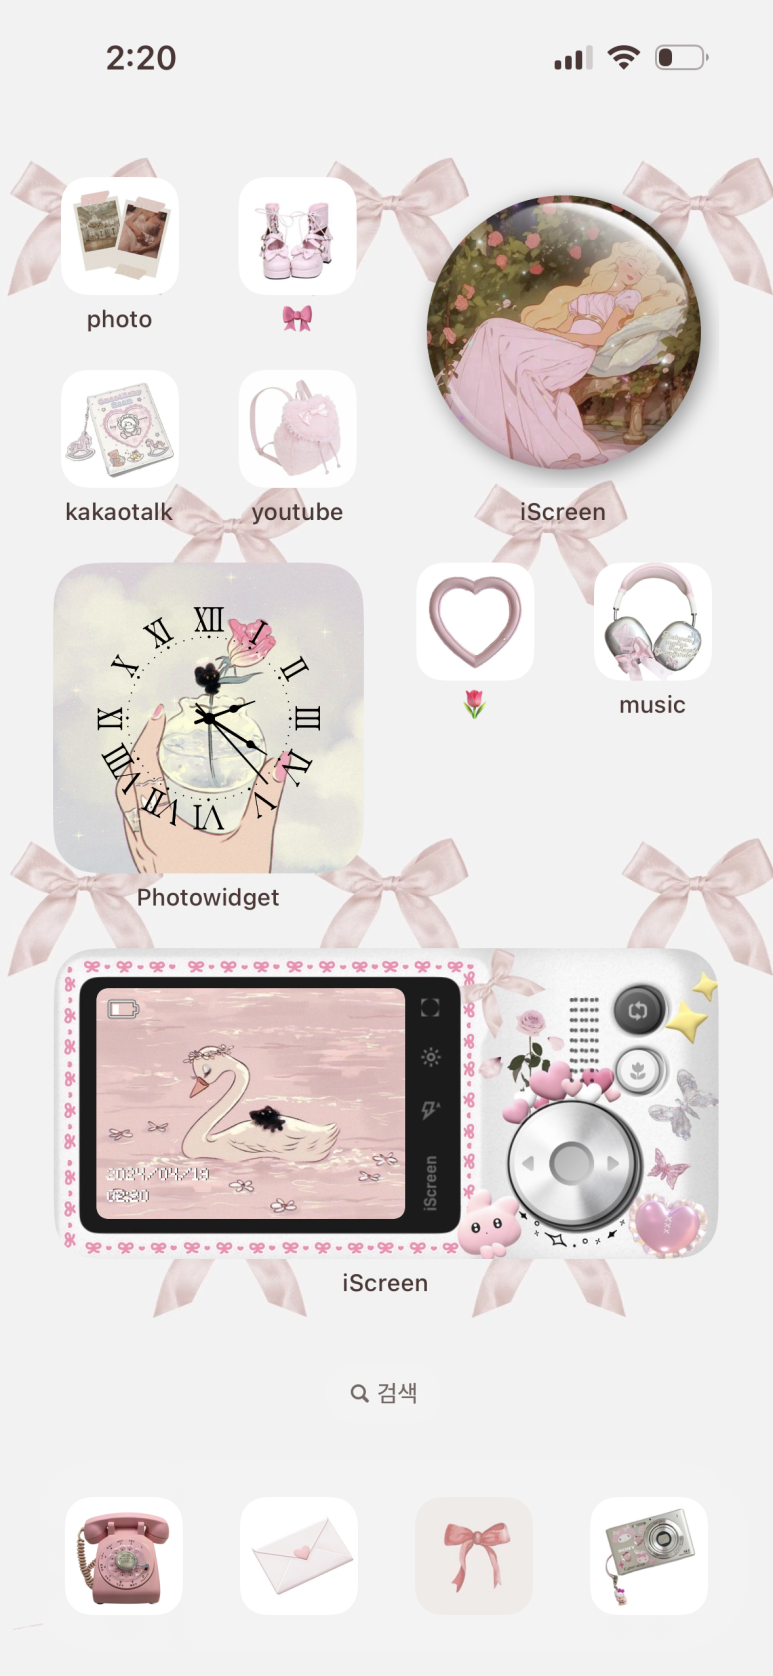
아이폰 배경화면, 위젯 꾸미기 (Pinterest, 단축어, iScreen, photowidget + epik)
MORIP 모립스냅|아이폰스냅 - 대구 M스타하우스 엠스타하우스 / 모닝스타홀
[아이폰14] BEST상품 순위 | Apple 정품 아이폰 14 자급제, 블루, 128GB
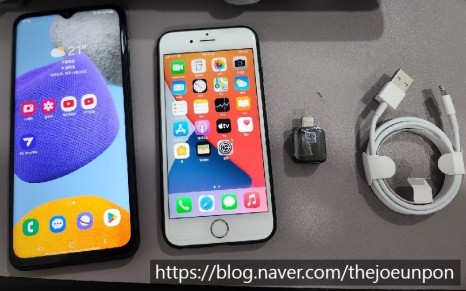
아이폰에서 갤럭시로 데이터 전송~ 문자, 사진,연락처 전송방법!
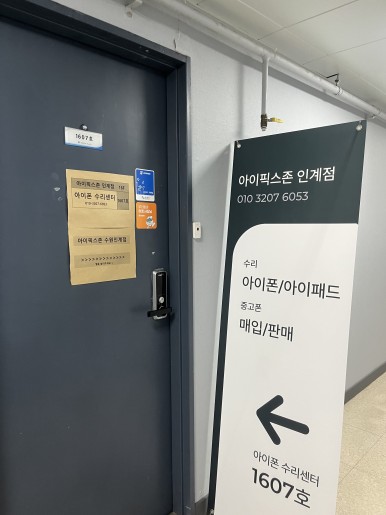
[아이픽스존 인계점] 아이폰13 카메라유리 교체 후기(빛번짐 해결...☆)/수원아이폰수리
아이폰 리퍼 보증기한 2년 내 무상 부품 교체 후기
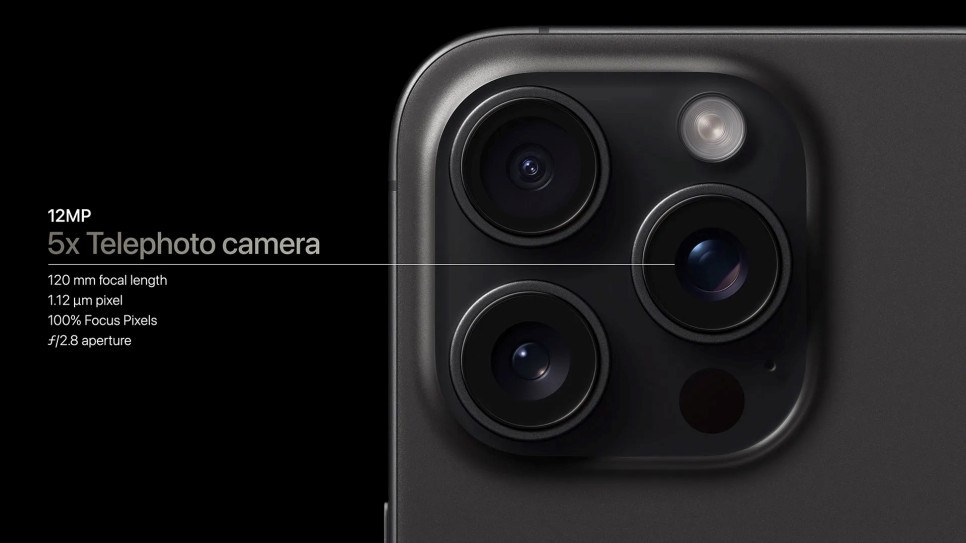
아이폰 16프로 시리즈 카메라 추가될 4가지 기능 알아보자
[아이폰13프로] 베스트셀러! 판매 기록 깨는 아이템
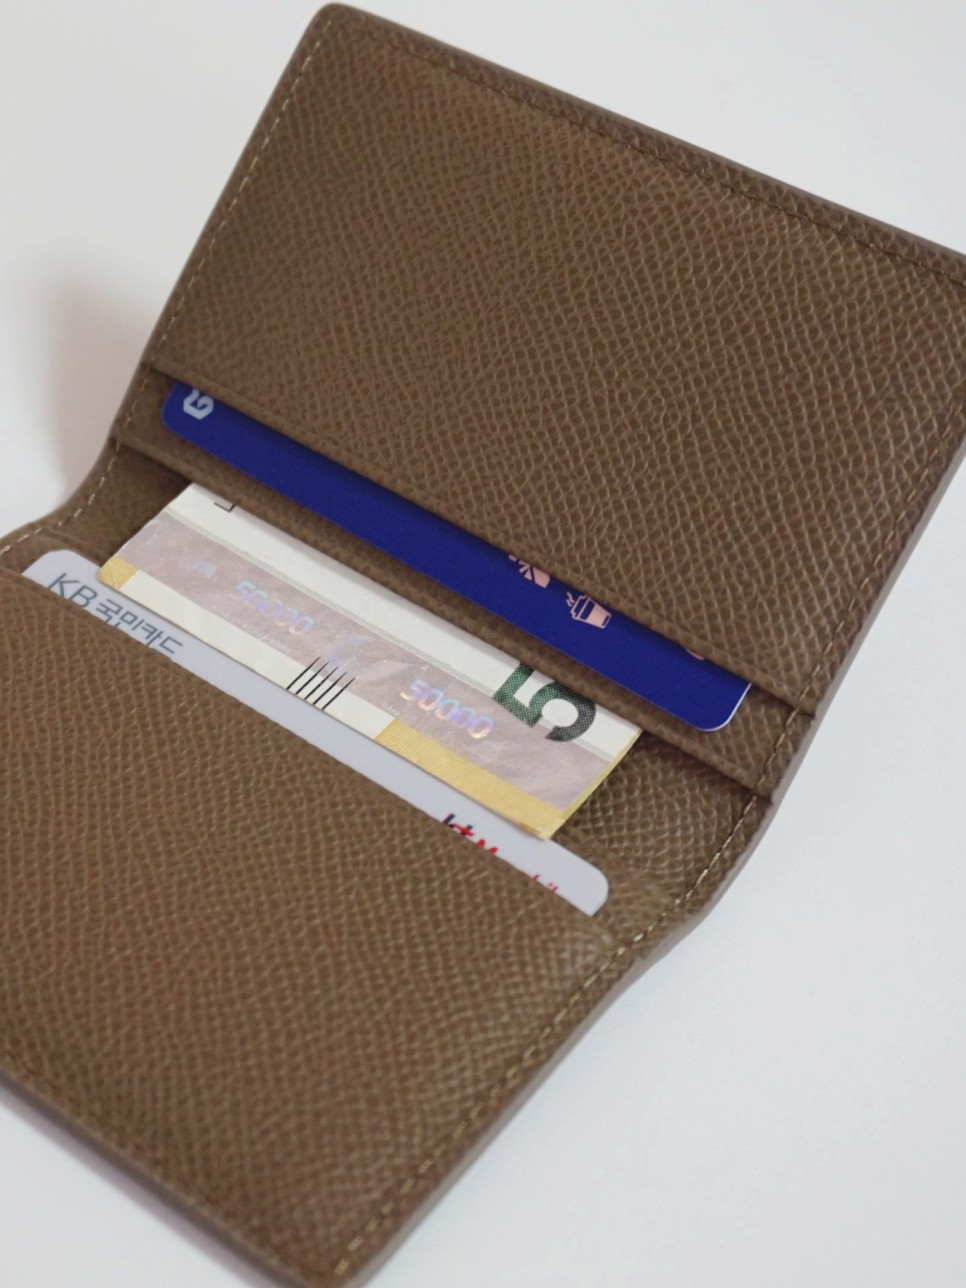
아이폰 사용자를 위한 자스나로 NFC중복인식방지 교통카드지갑
아이폰15프로케이스 추천 :: 변색없는 생폰 느낌의 주파집 케이스