한국 아이폰
홈페이지
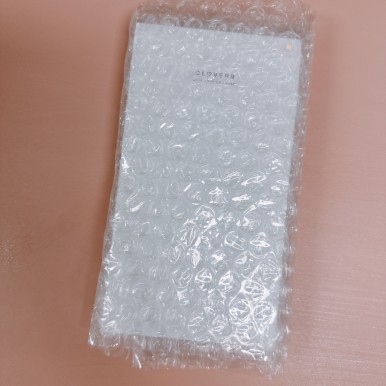
아이폰 방수팩, 핸드폰 방수팩 무직타이거 뚱랑이
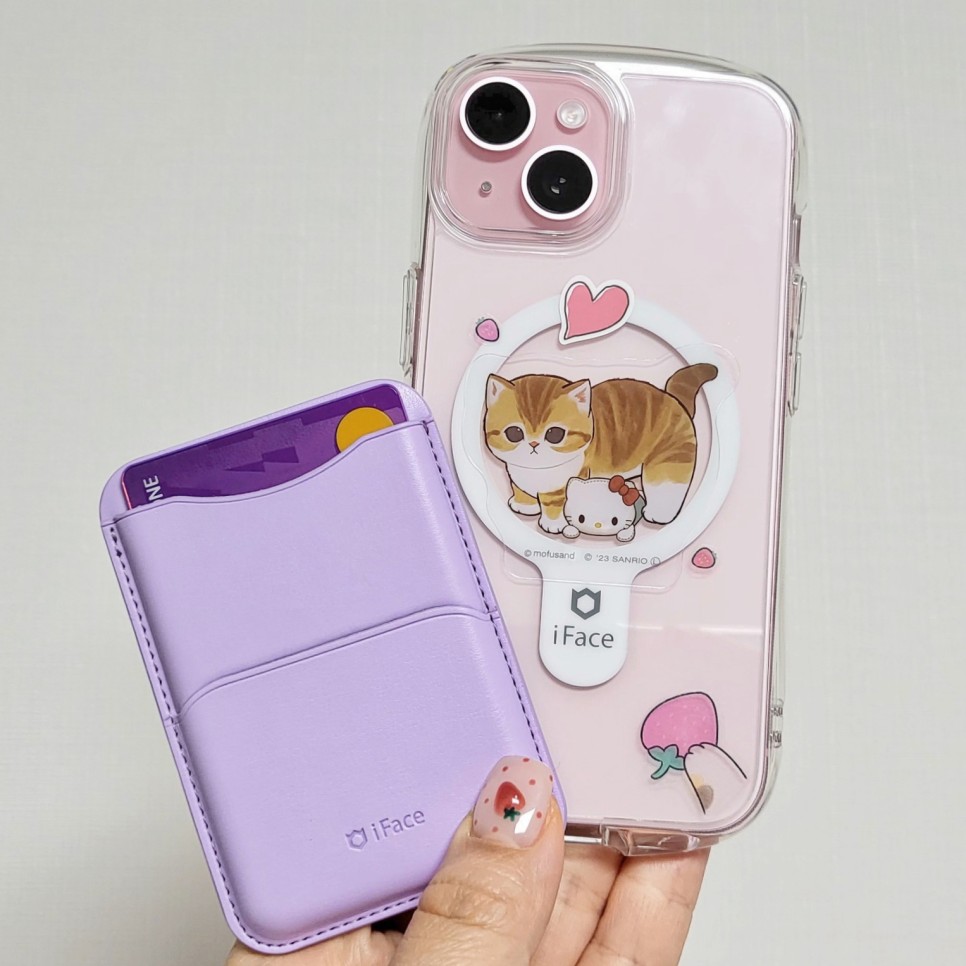
아이폰15 아이페이스 맥세이프카드지갑 & 케이스 사용후기
[산책일기] 꽃향기 가득한 산책길 오늘도 신나게 달려(5월 달력 핸드폰 배경화면 무료 공유_아이폰&갤럭시 사용가능)
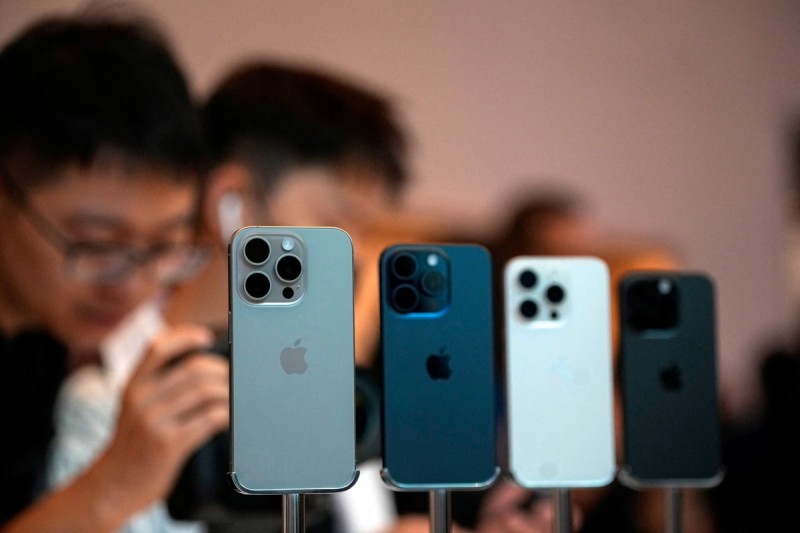
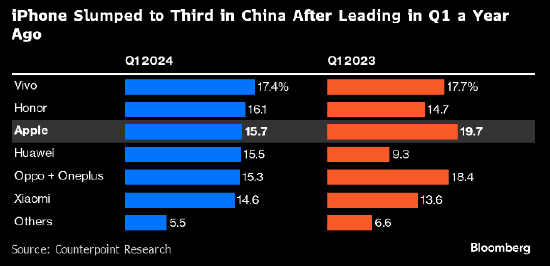
아이폰, 1분기 中판매 19% 감소…시장 점유율 '1위→3위'로
"아이폰16 프로 카메라 이렇게 나온다" 특징 알아보기
아이폰 오로라케이스 너무나 이쁜 맥세이프 케이스
[찐후기] 쿠팡 자급제 아이폰15 구매, 아이폰 기기변경, 데이터 옮기기
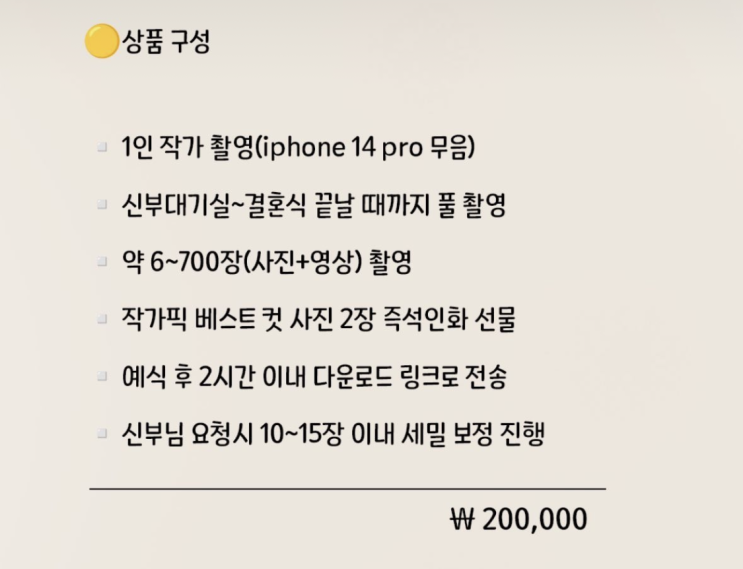
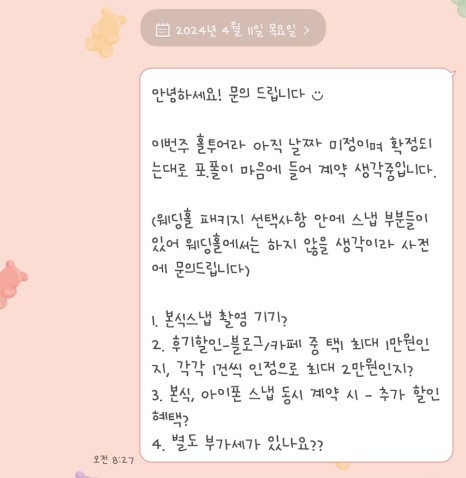
웨딩 본식 아이폰스냅 촬영후기_ 광주 아이무드(i.mood) 스냅
아이폰 시간 설정, 24시간제 및 수동으로 바꾸는 방법
영통아이폰수리 아이폰12프로 빨리닳는 배터리 교체 전원꺼짐 현상도 한꺼번에 해결했어요
애플의 중국 내 아이폰 판매량은 1분기에 19% 감소해 2020년 이후 최악의 분기 실적을 기록했다
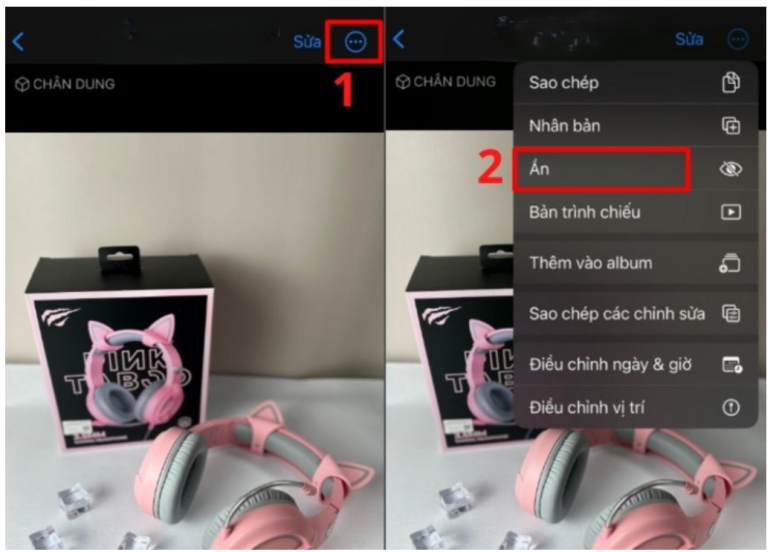
iPhone에서 숨겨진 사진을 숨기고 여는 좋은 방법
[본식/스튜디오 아이폰 서브스냅] 르로제 스냅 추가계약완료 후기 / 프렌즈 짝꿍 모집중 프로모션 '241013 김수지(수원)' /아이폰 스냅 추천
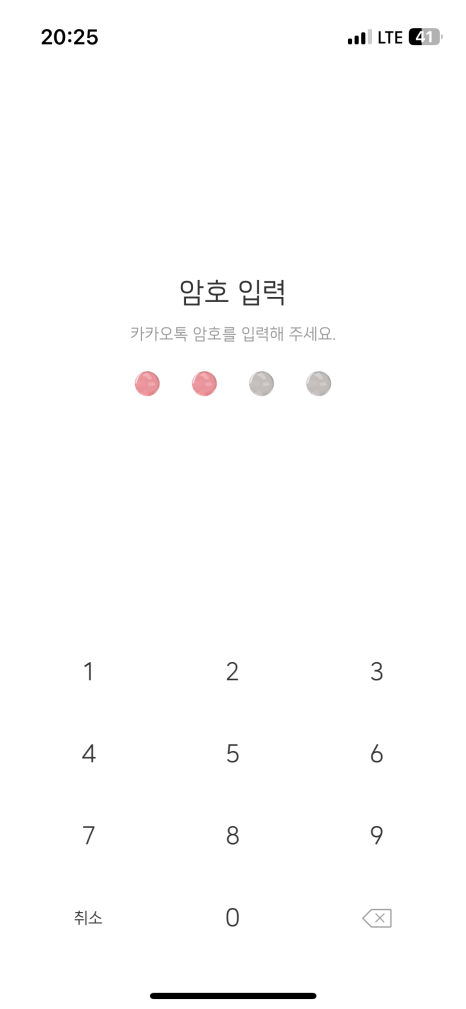
카카오톡 카톡 앱 아이콘 테마 변경 아이폰 꾸미기 쉬운 방법
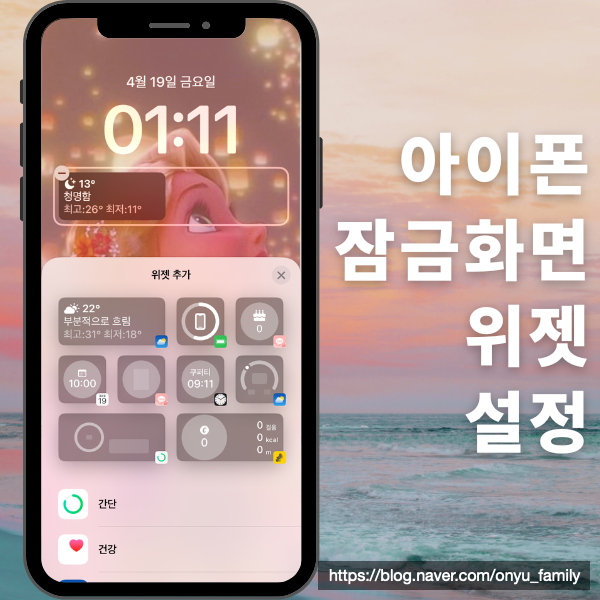
아이폰 잠금화면 디데이 블러 위젯 시계 꾸미기
| 메리에라, Marryera | 계약 후기 / 부산, 대전 본식스냅 + 아이폰스냅
천안 아이폰스냅 엘리스냅_안성 라오 하우스웨딩 촬영
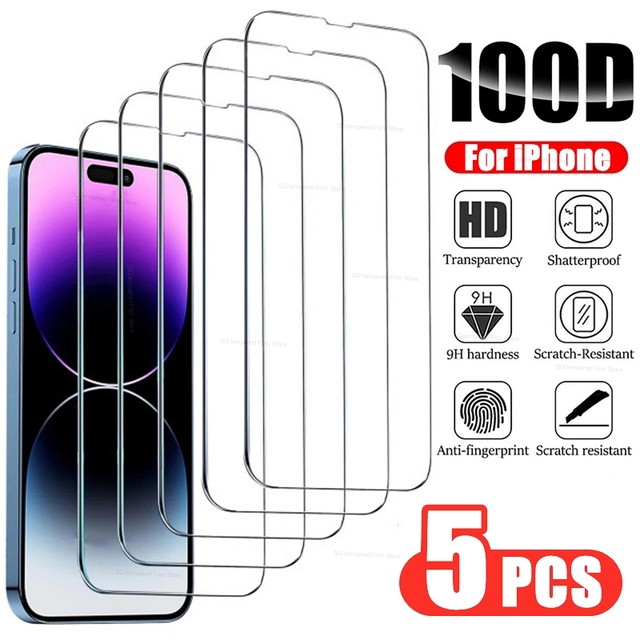
필수 아이폰 보호막 견고한 강화 유리 화면 보호기
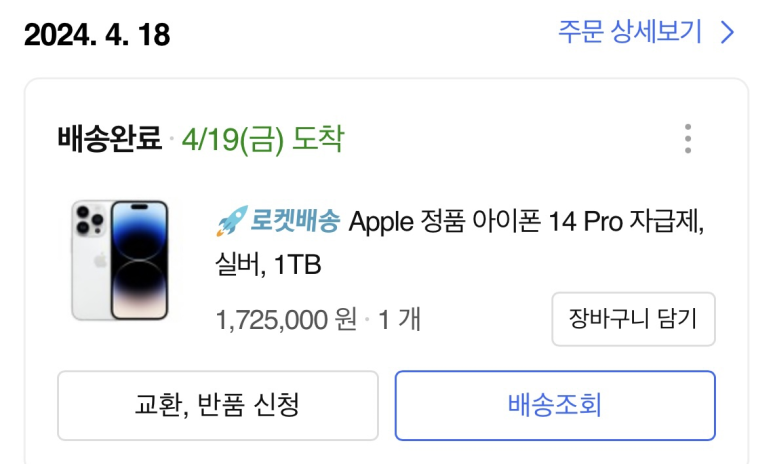
아이폰 14PRO 1테라 실버 구매!! +쿠팡템 추천 , 12PRO 카메라 간단히 비교해보기
[내돈내산 찐 후기★] 아이폰13케이스 | 더블유케이스 변색없는 슈퍼 방탄 렌즈 풀커버 휴대폰 케이스
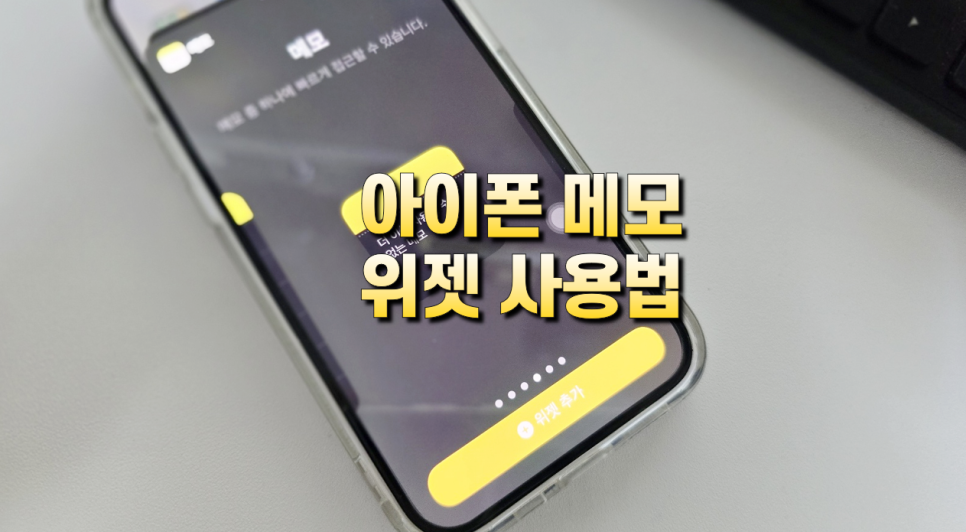
아이폰 메모 위젯 메모장 사용법 문서 스캔 텍스트 스캔 활용
아이폰VPN 모바일VPN 서프샤크로 안전하게 사용하는 방법
아이폰정보이용료현금화 한도설정 및 가입목적
아이폰 16 유출 정보 정리!
아이폰 문자 시간 확인하는 방법
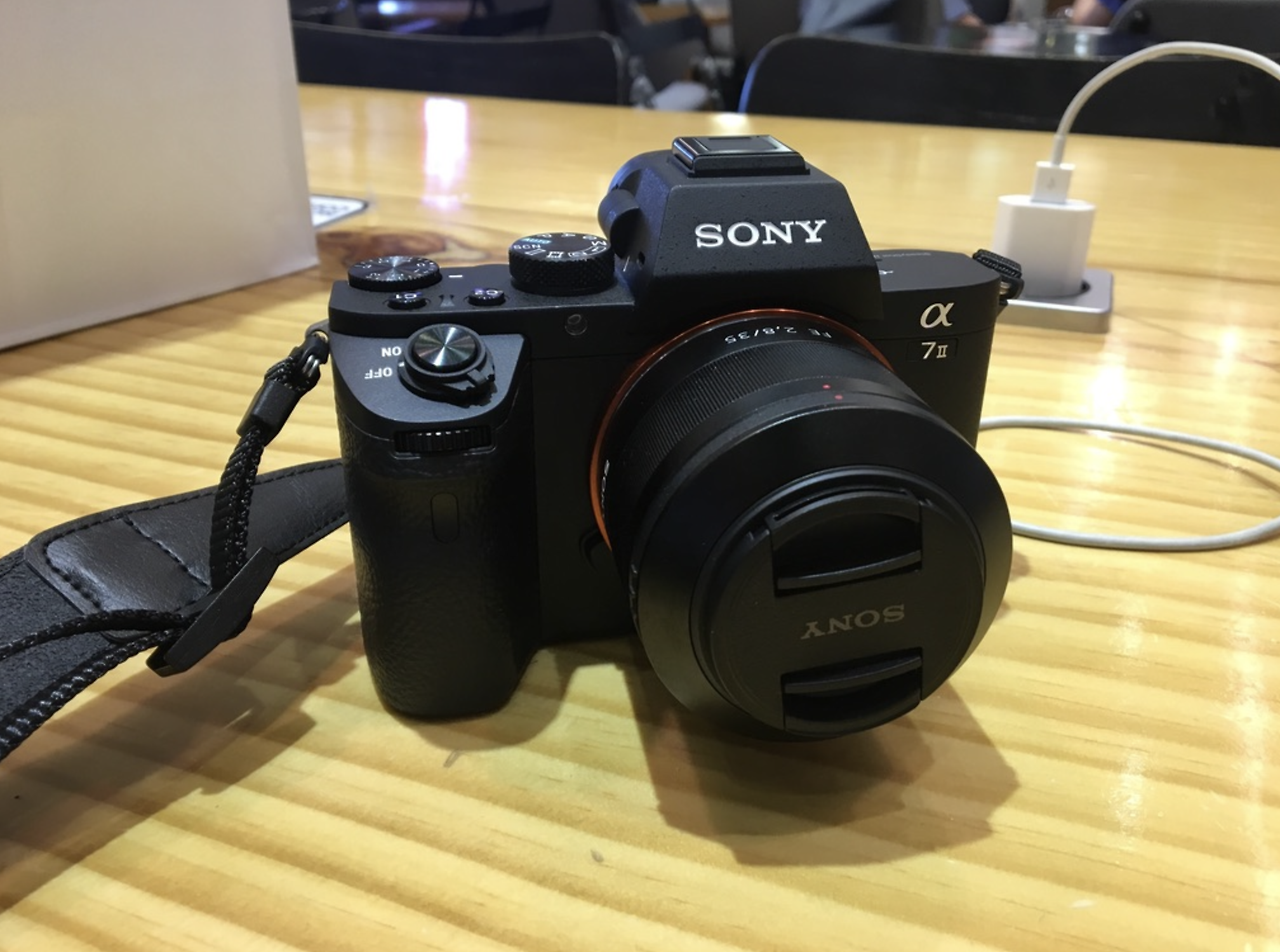
1. 다시 카메라로, 목표는 아이폰 뛰어넘기
아이폰 해킹 증상 검사 해결 종합 가이드
[14.아이폰 카카오톡 테마 공유] 젤리 카톡테마 나머지 다섯가지맛
(240423) LX세미콘 매출 실적 -12% 감소 ; 아이폰15 시리즈 판매 부진 영향 추정
한손으로 사용하기 좋았던 아이폰 SE 플러스 및 1세대 256GB 스펙 및 카메라 성능 무선충전 여부 알아보기