한국 아이폰
홈페이지
아이폰 15 프로맥스 512 화이트 다소 늦은 구입 개봉과 사용기, 그리고 실물컬러 느낌
W - 10만 원대 아이폰 스냅 추천 "온리포유 스냅" 계약 후기
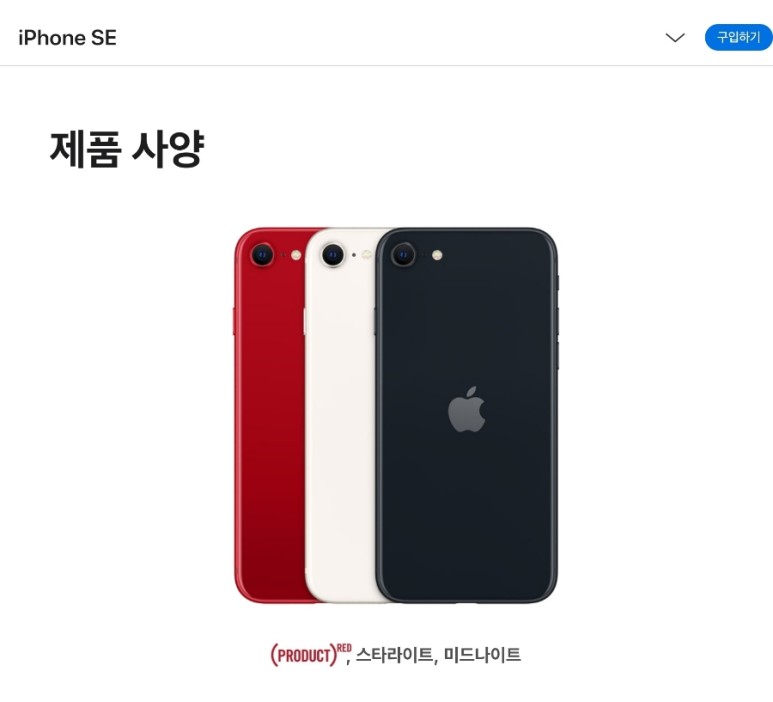
아이폰 se1 편안하고 실용적인 아이템 - Top10
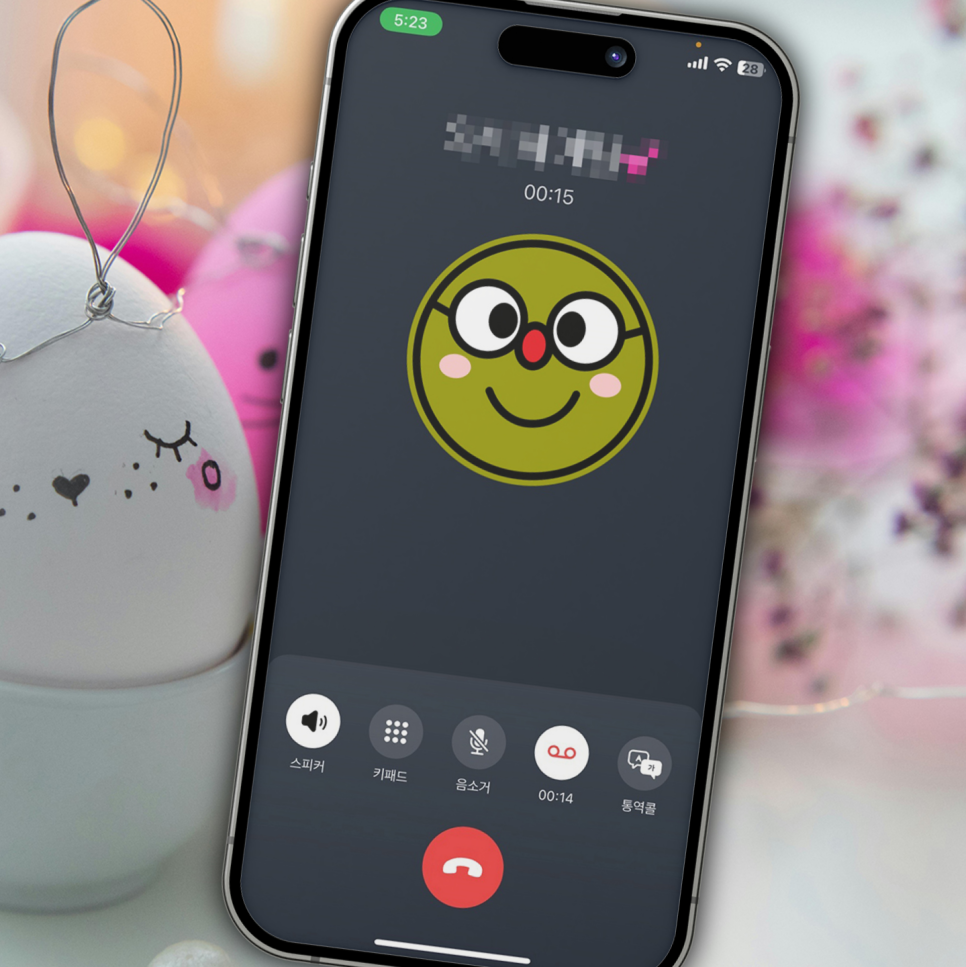
아이폰 통화 녹음 방법 skt 어플 에이닷
돌잔치 아이폰스냅 스푼더밀크 | 라마다프라자수원호텔 오크앤메이플홀
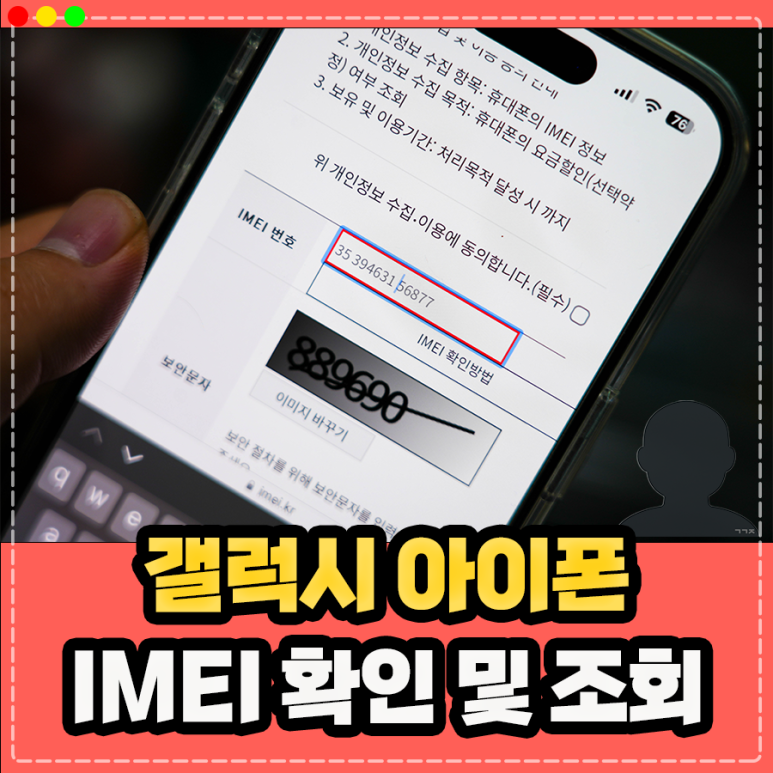
갤럭시 아이폰 IMEI 조회 방법, 분실 도난폰 및 요금할인(선택약정) 확인 하기
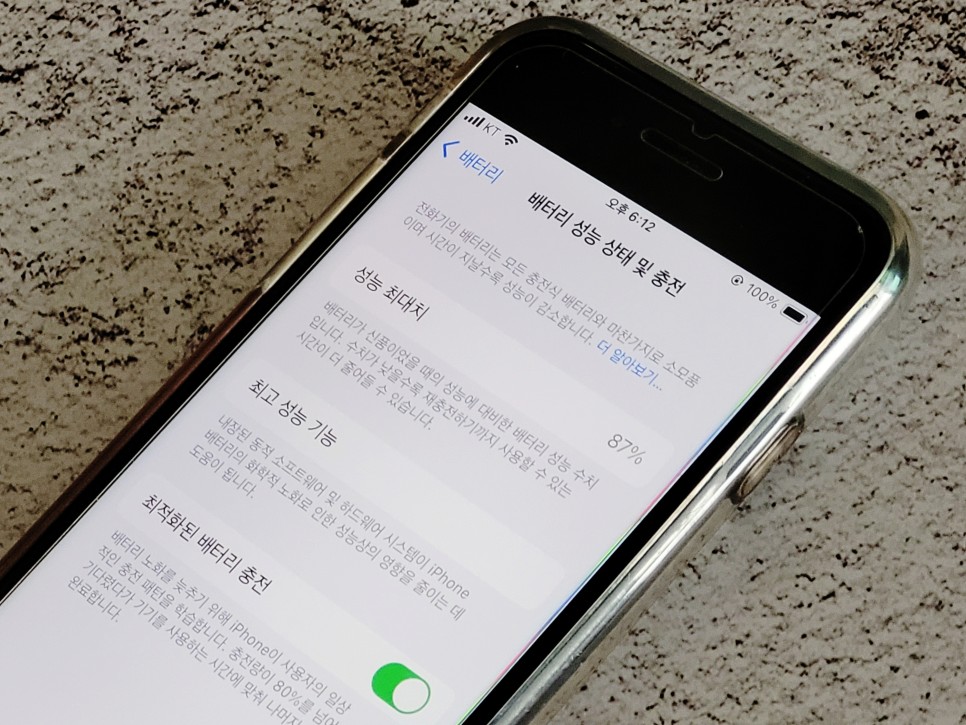
아이폰 배터리 성능 최대치 확인 방법
프리미엄 아이폰스냅 전문 베베스튜디오 입니다.
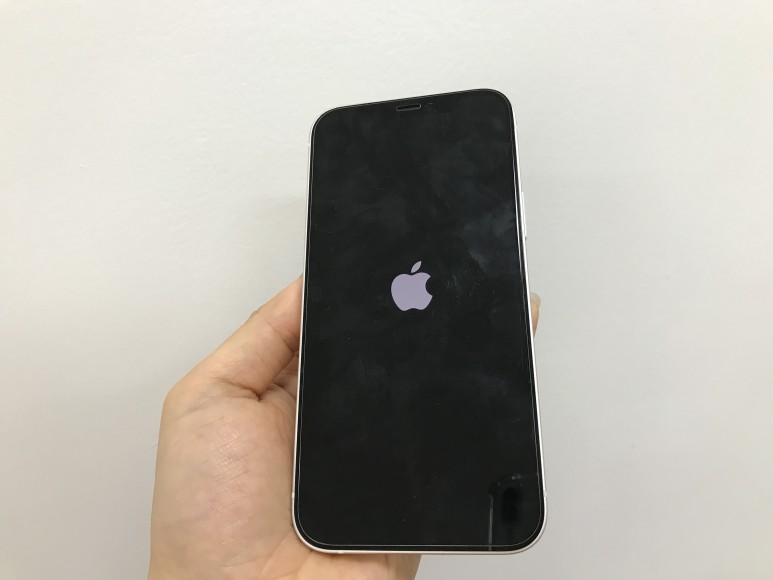
검은색 화면, 아이폰 배경화면
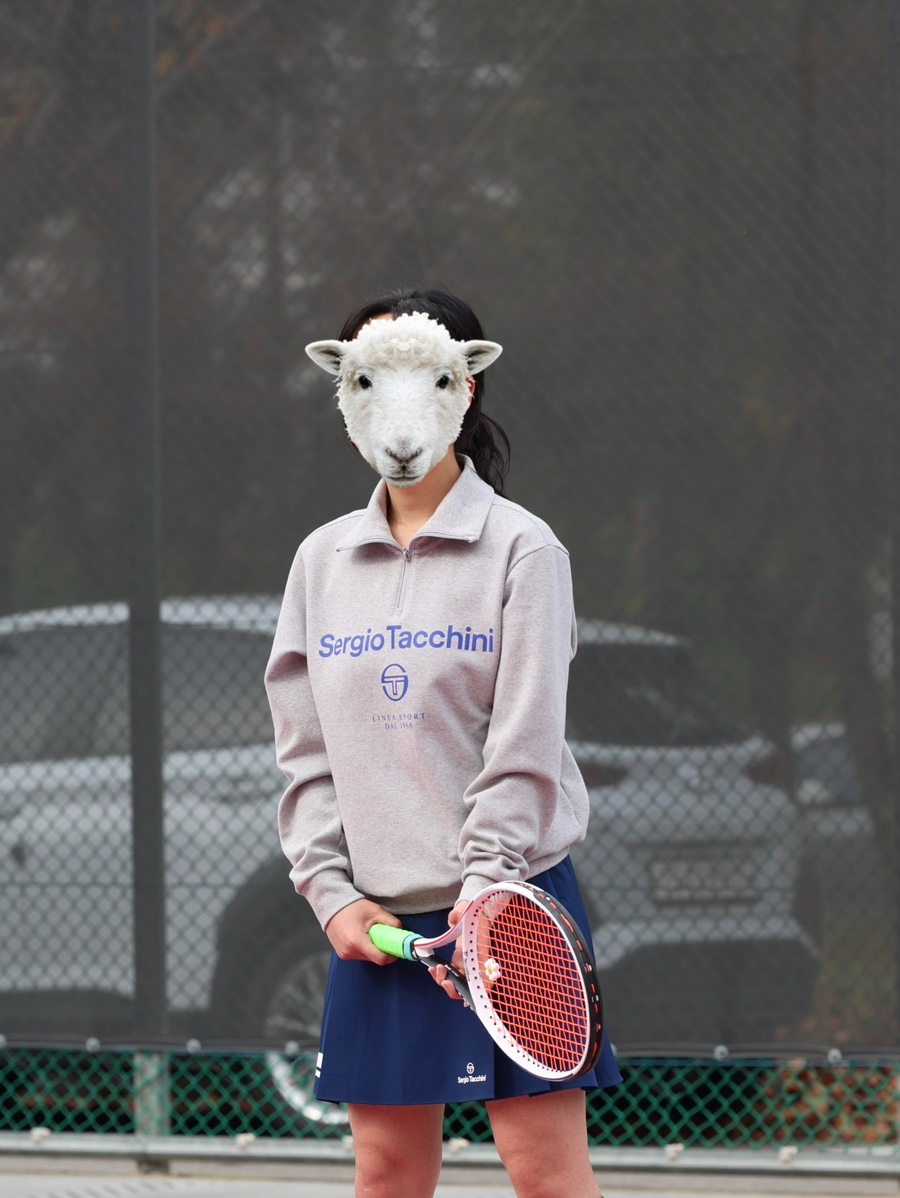
iphone 14 pro 일상:: 테린이 모먼트, 세르지오 타키니, 나이키
아이폰 메인보드 손상 되었을 때, 고장 난 부분만 고쳐서 데이터복구
캘린더부터 미리 알림까지 쉽게 연동. 한국인이 만든 아이폰 달력 앱 '스케줄러'의 '미리 알림 추가/편집'기능 및 '위젯 미리 알림 표시' 업데이트 소식을 전해드립니다~!
온리포유/아이폰스냅추천/결혼식릴스/친구결혼선물
청주 아베크 아이폰스냅 :|예쁘게 찍어주셔서 감사합니다
아이폰 코리락쿠마 카카오톡 테마 공유
아이폰 폰트 추천 『GF연필고딕세미라이트』
[iPhone] Apple 정품 아이폰 15 자급제, 핑크, 512GB 솔직 사용후기
[SKT범물점] 아이폰 SE22 특가 진행 선착순
아이폰 정보이용료 사려깊게 사용하기
아이폰 사라진 이지은체,, 돌아와,,, 이지은체 설치 방법 다운로드
[아이폰12pro] 가격정보 | 아이폰12프로 iPhone12 Pro 자급제, 골드, 256GB
아이폰 정보이용료 안정적인 사용방법
[아이폰 15] Apple 정품 아이폰 15 자급제, 핑크, 512GB 찐후기
아이폰 정보이용료 유의하며 사용하기
<아이폰 배경화면> 엔시티드림 재민 'Smoothie' 무대 #1 배경화면_by.슬짱
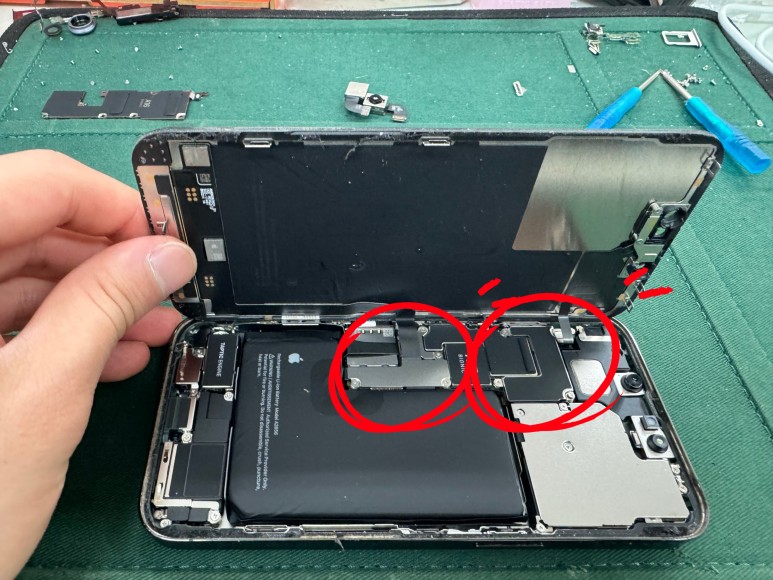
명동아이폰수리점 13프로 후면카메라수리 및 배터리수리
인스타 언팔 찾기, 아이폰 인스타그램 언팔 확인하기
[wedding_#3] 아이폰스냅 - 아일캡쳐
[ 부산 동구 성지 휴대폰 성지 오늘의 폰 / 아이폰15 PRO 내추럴 티타늄 개통 후기! ]
아이폰 위치 gps 끄기 켜기 앱 별 설정 방법